


Metallic accents infuse spaces with luxury and shine. Gold, silver and copper leaf techniques have been favorites of crafters and artists for decades—and metal leafing isn’t as hard as it looks.
Basic Gilded Technique
Metal leaf kits in gold, silver and copper are available at craft stores and online. They typically contain adhesive, sealer and squares of metal leaf that you apply to your surface. You can also buy the sheets and the adhesive separately. It’s always a good idea to practice a new technique a bit first before tackling a big project. Here are the basic steps to get started.
- Clean the surface of your object or piece of furniture.
- Use a paint brush or roller brush to apply the adhesive to exactly the spot on your surface you want the metal leaf to stick. Follow the directions on the kit for adhesive drying/curing time. The adhesive should feel tacky when it’s ready, but not come off on your finger.
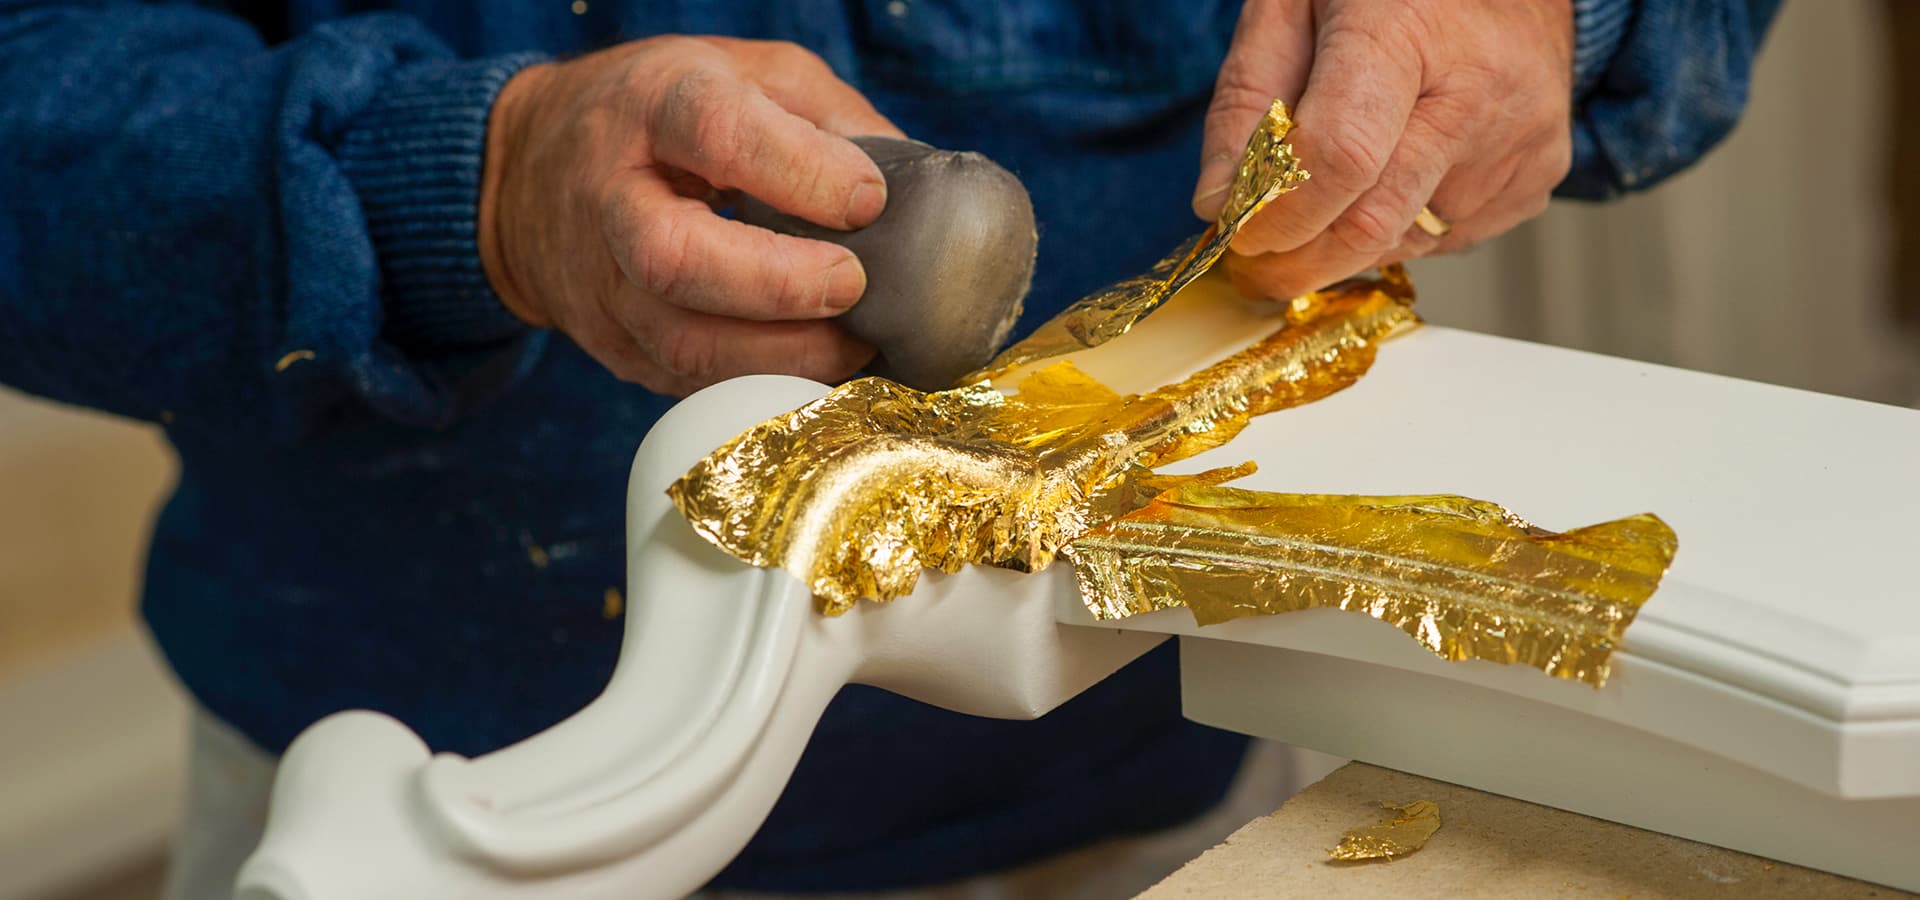
- Apply the metal leaf onto the adhesive area with your hands.
- Remove the unused pieces of the sheet and shape and smooth the leaf onto the surface with your hands or a cloth. Loose bits will naturally fall off as you smooth and work the leaf.
Gilded Home Project Ideas
Mirror frames, vases, candles and other gilded decor make for great beginner projects and add a handmade touch to your home decor.
Gilded furniture like dressers, bookshelves and nightstands are also DIY goldmines. Start with thrifted or used pieces so if your project goes south, your investment is low. Wood needs to be sanded before leaf adhesive or paint is applied.
Want to make your own gilded art? Start simple with a fresh piece of canvas and some paint in a favorite color combination. Be creative with your placement and design. Think abstract and let the metal leaf shine bright.


