


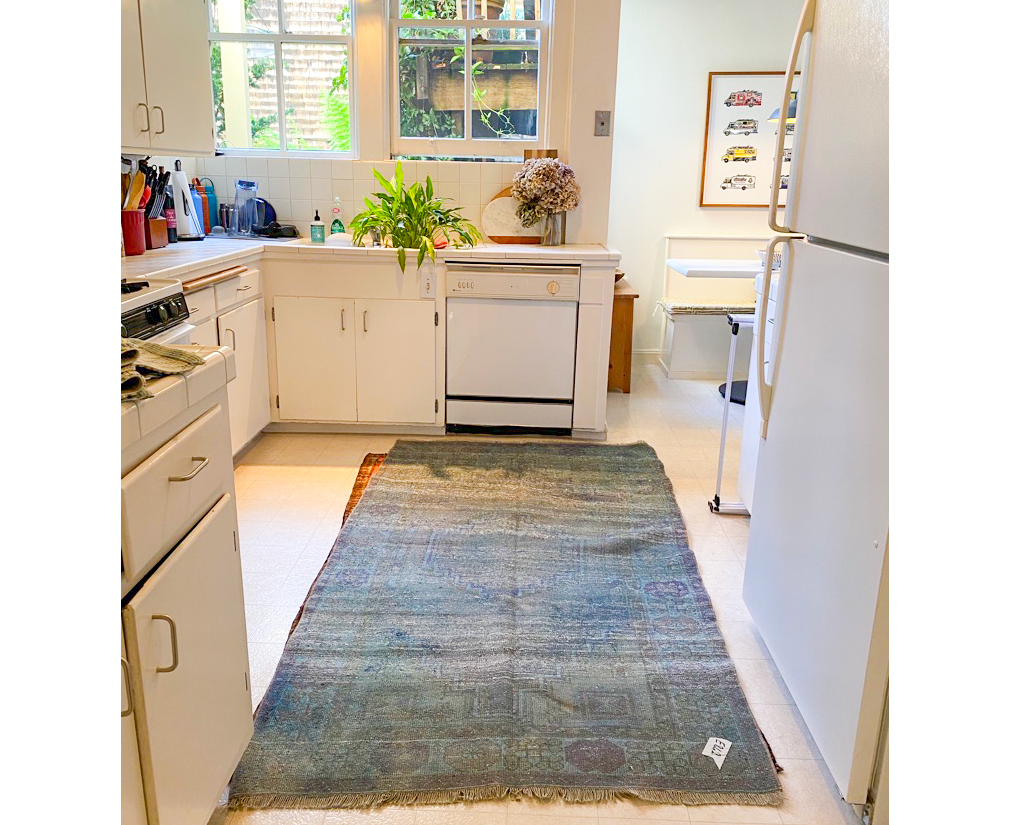
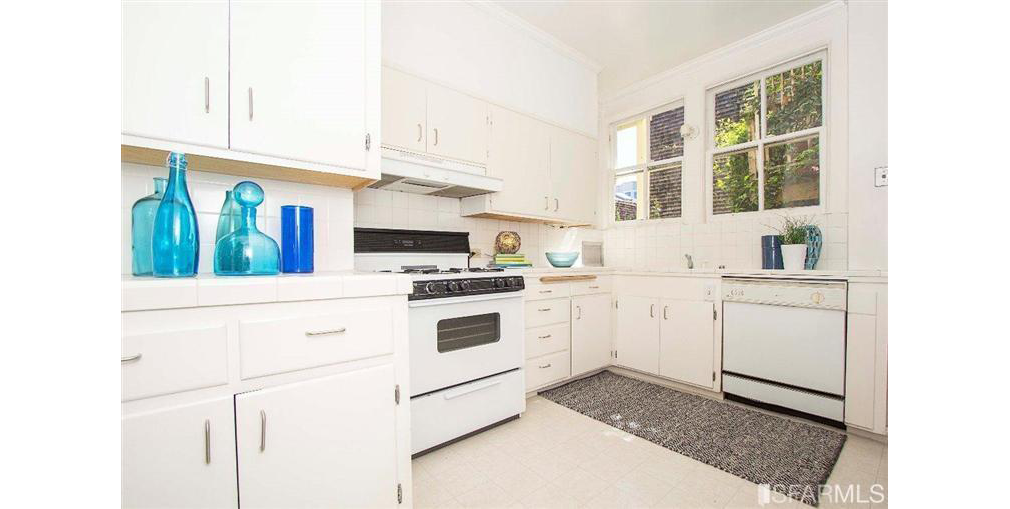
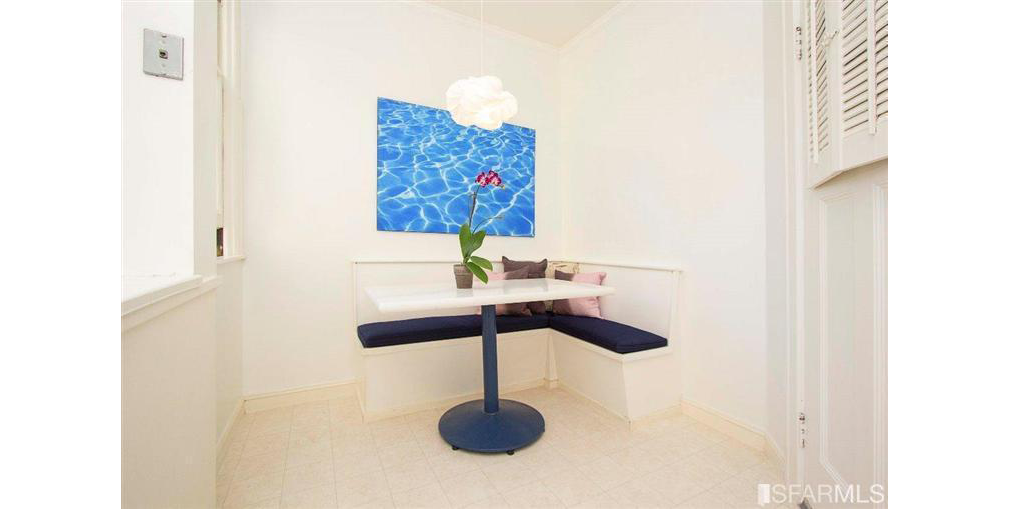
Angela Scaletta, principal of Angela Grace Design in San Francisco is used to tackling renovation projects. But, when it came time to redesign her own home, built in 1903 by Bay Area architect Edgar A. Mathews, she knew it would be well worth it. “It was outdated and fairly basic,” says Scaletta of the two-bedroom home she shares with her husband. “The flooring hadn’t been refinished in years, the cabinetry and appliances were clunky and old, and there were so many opportunities to improve the flow of the space to make the layout more practical.”
After the four-month transformation with emphasis on the kitchen, bathroom, and living areas, the result is a fresh and updated space with more cohesion and functionality. “There isn’t an inch of our home that I don’t love,” explains Scaletta of the 1,250-square-foot dwelling. “Every element truly makes me smile every day. I’m very proud that we achieved our functional goals while still creating a beautiful, bright space.”
Here, Scaletta tells us about the entire process and offers her best advice.
Why did you decide to embark on this project?
AS: When we purchased the home, we knew that it needed updating but everything was functioning perfectly well. We essentially waited for something major to break, which ended up being a combination of our gas line, dishwasher, and washer/dryer all at the same time. It was fate. And, then we went full steam ahead with a remodel.”
Tell us about the process and vision.
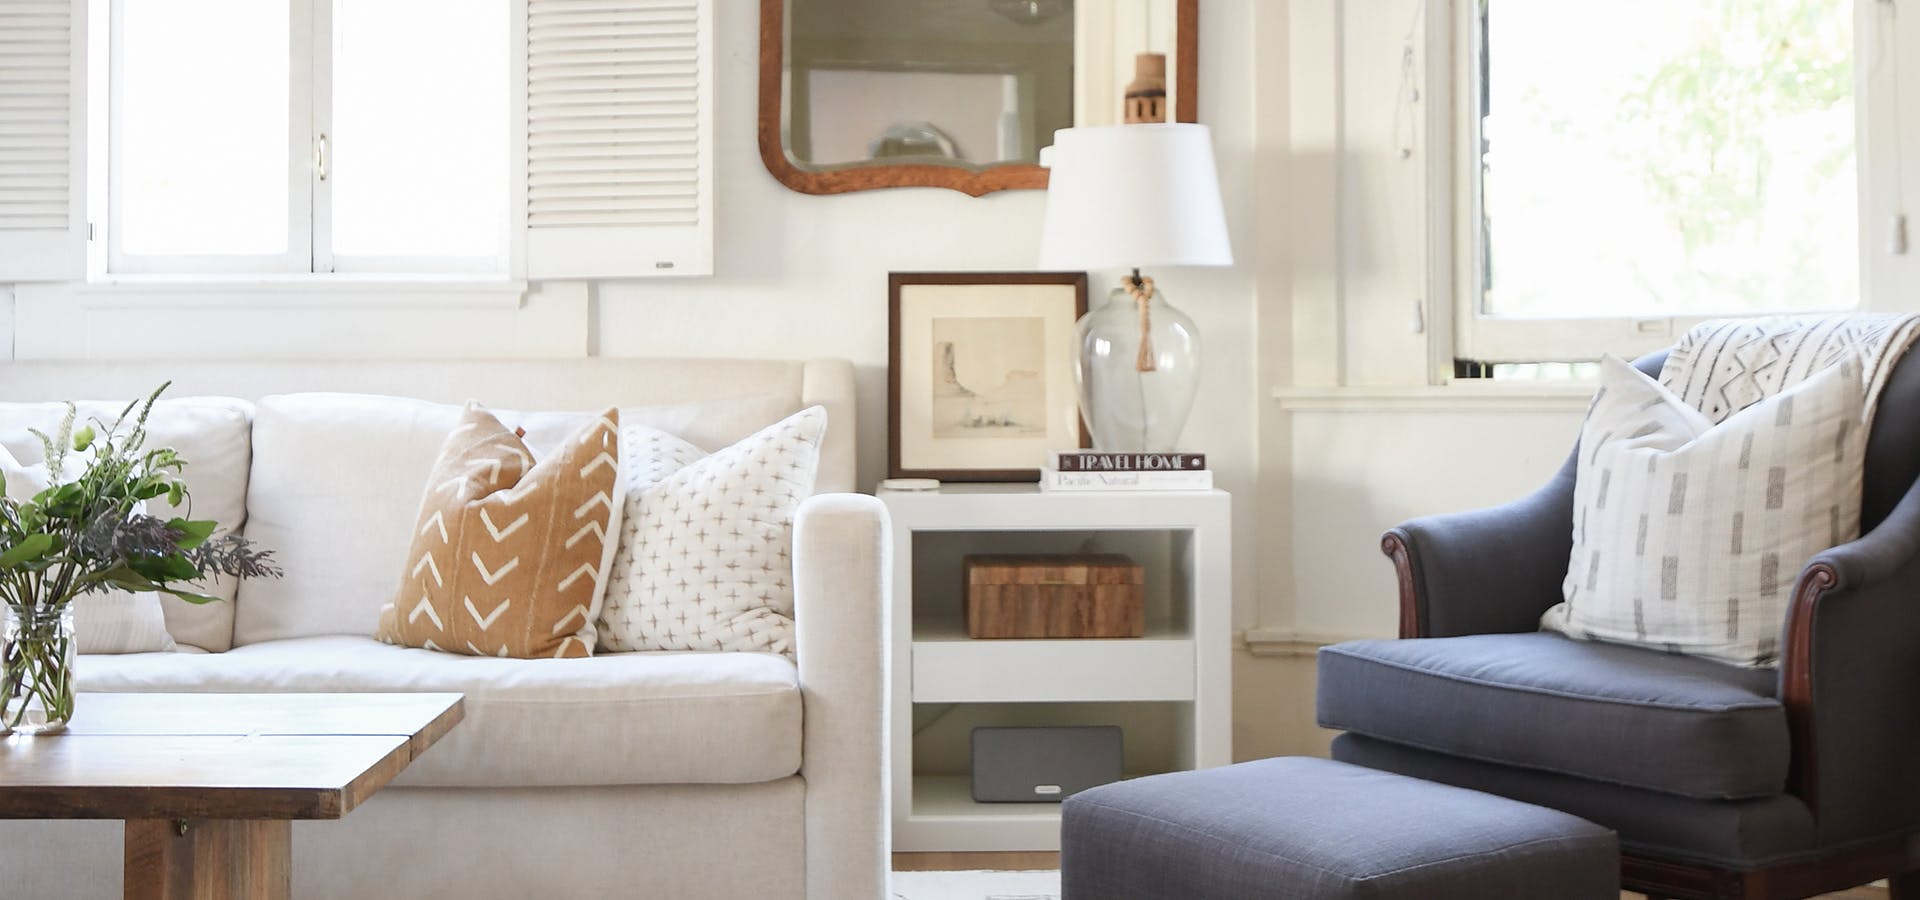
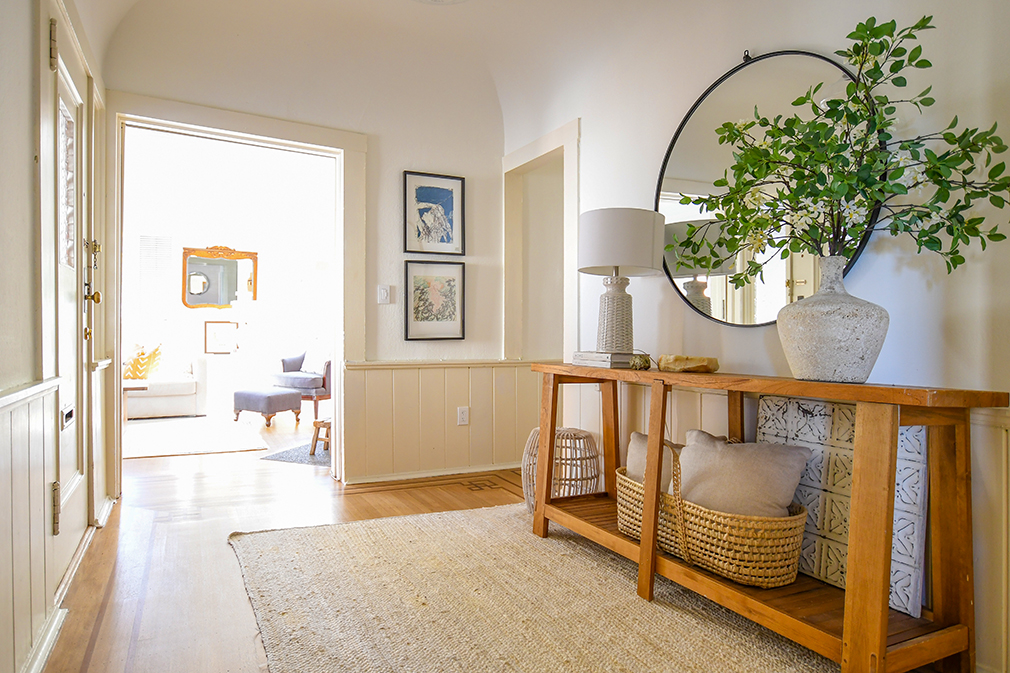
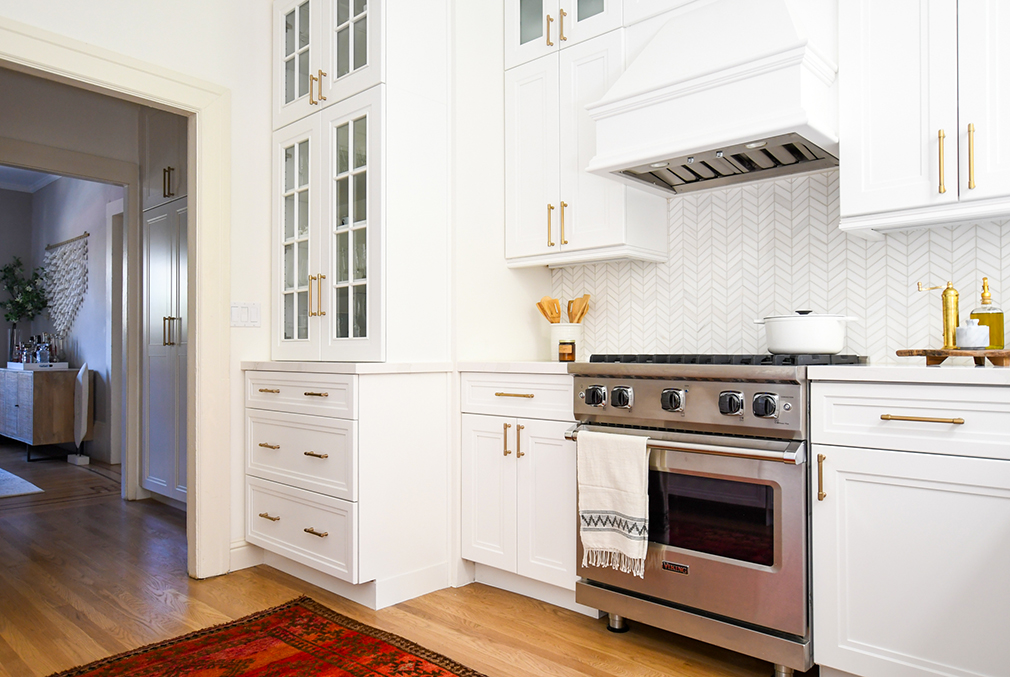
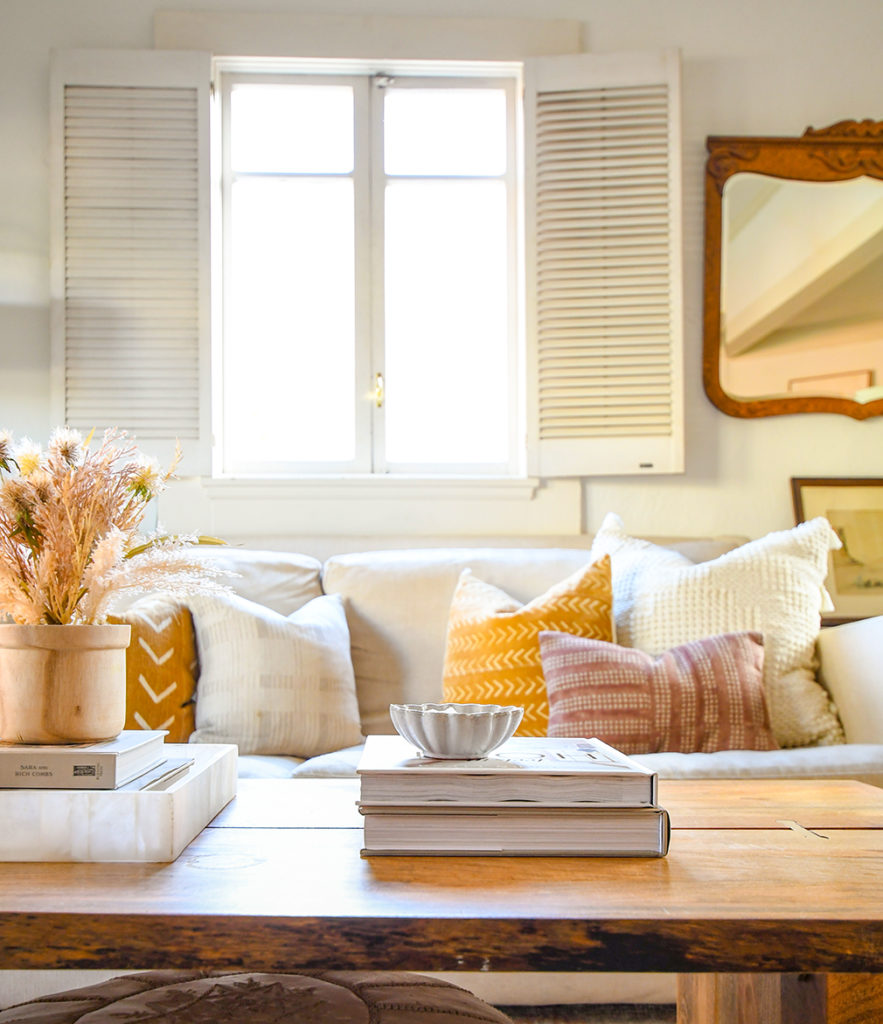
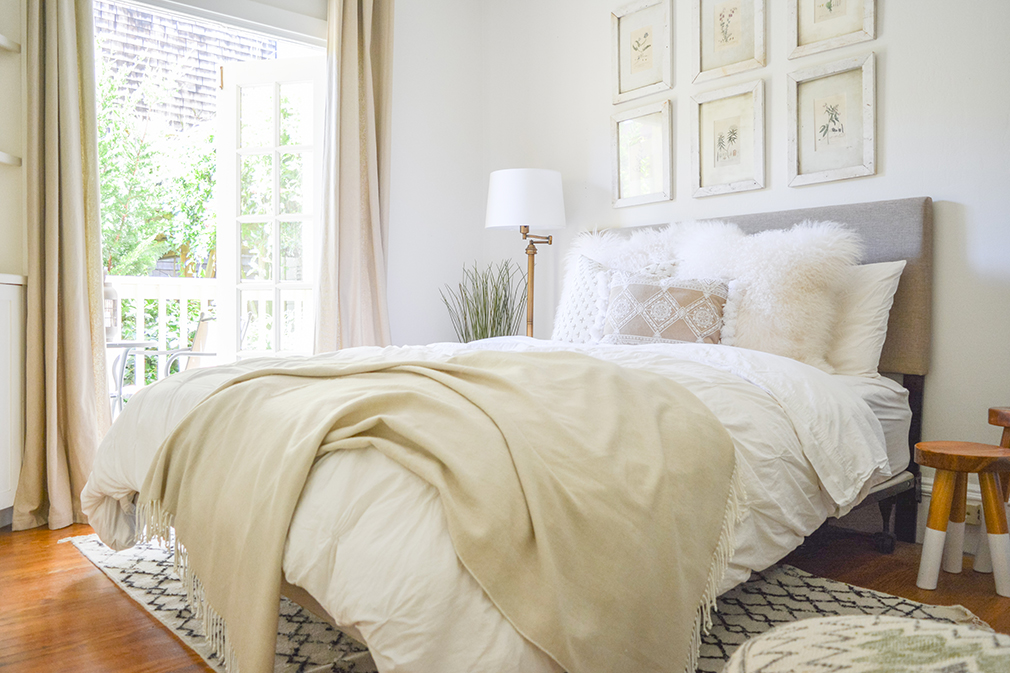
AS: The overall goal was to create something beautiful that made us happy but also felt practical in the long-term. For us, that meant durable materials in case we were to ever move and rent out the home, as well as classic finishes that any future resident would hopefully love and appreciate as well, without being too specific to our personal style. Building materials include Silestone quartz, Fireclay tile, brass hardware, reclaimed redwood, along with the original hardwood oak floors and wavy glass windows. The home itself gets a lot of light but isn’t large, so I felt strongly about a white and light foundation that you could always pop with color through decor.
What were the highs and lows?
AS: Unfortunately, we demoed the home in early March 2020, so you can imagine the headaches that followed. Work quickly ground to a halt due to Covid, and the project just took much longer than anticipated. The new safety measures in place meant things moved much more slowly than they would have otherwise [limited number of crew on site at a time, a backlogged permitting and inspections process] but the result was worth it. You never know what to really expect until you open up walls, especially in older homes, and sure enough, we got a call from our contractor one day that all of our electrical in the entire home needed to be replaced and brought up to code. It was an extremely significant expense that we weren’t prepared for and added another few weeks to our timeline. That aside, the best part of the remodel was being so deeply involved. I checked in on the project multiple times a week and was able to keep things moving as much as I could.

Your favorite design element now?
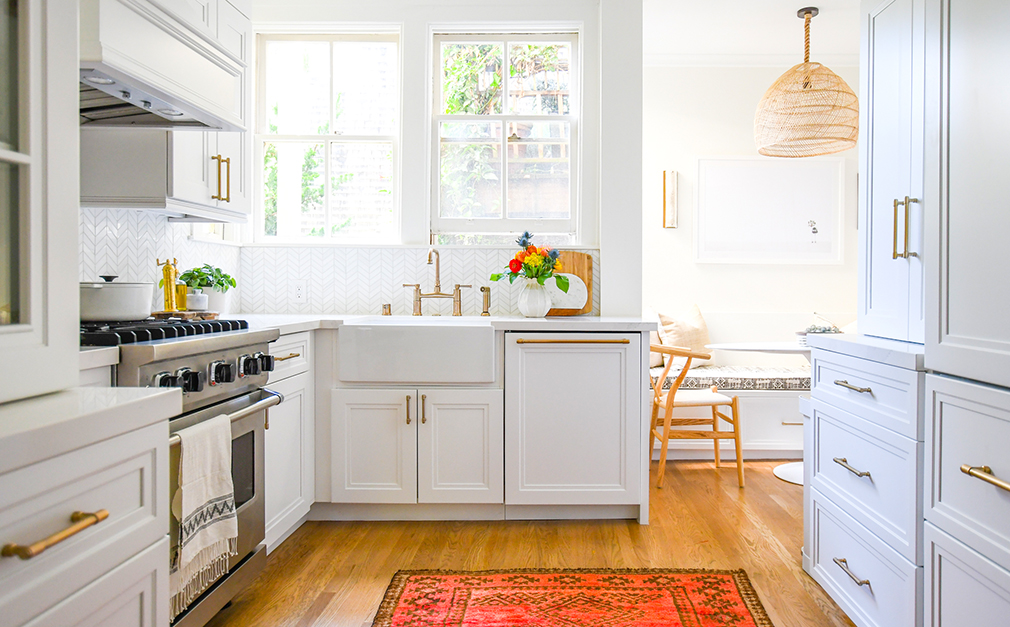
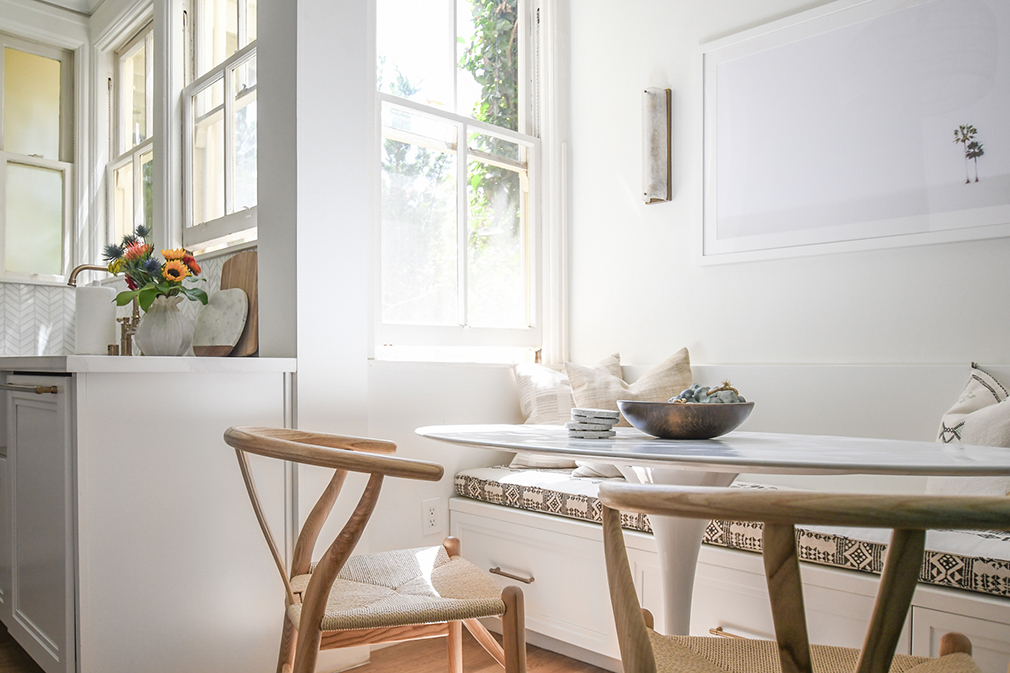
AS: We intentionally designed the kitchen to have a classic, neutral foundation. However, I added pops of color and personality with the vintage rug (an Etsy find); a woven light fixture; and some more bohemian textiles in the banquette. The kitchen nook is probably my favorite place. Our cabinetmaker created a built-in bench with storage (a bonus) and I had a custom cushion made. It’s the cutest little corner of the home, and it is the best place for that morning coffee or afternoon tea.
Scaletta’s Renovation Hacks
Pay Attention to Detail
“Be extremely clear and detailed with your scope when working out your initial contract,” says Scaletta. “Scope creep is real and the more you include on the initial contract, the better you can budget, and the fewer surprises there will be.”
Look To An Expert
“Always, always work with a designer,” explains Scaletta. “They have a 10,000-foot view of the process and design and will ensure that everything feels cohesive. Get them involved at least several months before starting the demo, and depending on the size of the project, maybe even sooner.”
Think Tile
“Work with your contractor directly on tile calculations,” says Scaletta. “Depending on the type of tile, you will need a 15-percent or more overage, and the contactor always has a strong point of view on how much extra tile they would like to have.”
Don’t Overlook Lighting
“Layer and be intentional with your lighting,” explains Scaletta. “Think about where you need functional lighting [a can over the sink, or undermount cabinet LEDs] versus where it adds to the design. A pendant and sconces in our kitchen nook added so much polish to that space.”
Consider Display Ideas and Storage
“When thinking about kitchen cabinets and vanities, take inventory of what you need to store and how you prefer to store it,” says Scaletta. “When you get your cabinetry plans, go through the exercise of determining where everything will go and make sure you have a home for everything.”


